
The Legend of the Christmas Spiders
Click here to download a PDF of the legend.
I started making these super-easy, incredibly sparkly ornaments when I was little, and I still make them as little gifts for friends today. They take no time to put together, and even if you aren’t crafty, they always turn out beautiful, since they’re basically a tiny ball of crystal.

You will need:
Beads for the body (I use 8mm faceted crystal glass beads and/or 8mm crackle lampwork round beads)
A fine-gauge craft wire (22-gauge or higher)
Wire cutters
Seed beads in any color (they’ll be for the legs)
Glue gun
String (for hanging)

Start with two of your 8mm beads, one for the head and one for the body of the spider.

Glue the two together and set aside.

Cut four pieces of wire, about 2in/each in length.

Bend the very tip of one end and fold down.

Thread the wire with seed beads (about 3/4 full).

Bend the opposite end of the wire down to hold the beads in place. (The beads should be able to move fairly loosely on the wire.)

Repeat with all four legs.

Arrange the legs on top of each other so they intersect in the center. Grab the cluster at the middle and twist until all of the legs are connected (this doesn’t need to be pretty, just keep twisting them around until they’re all hooked together).

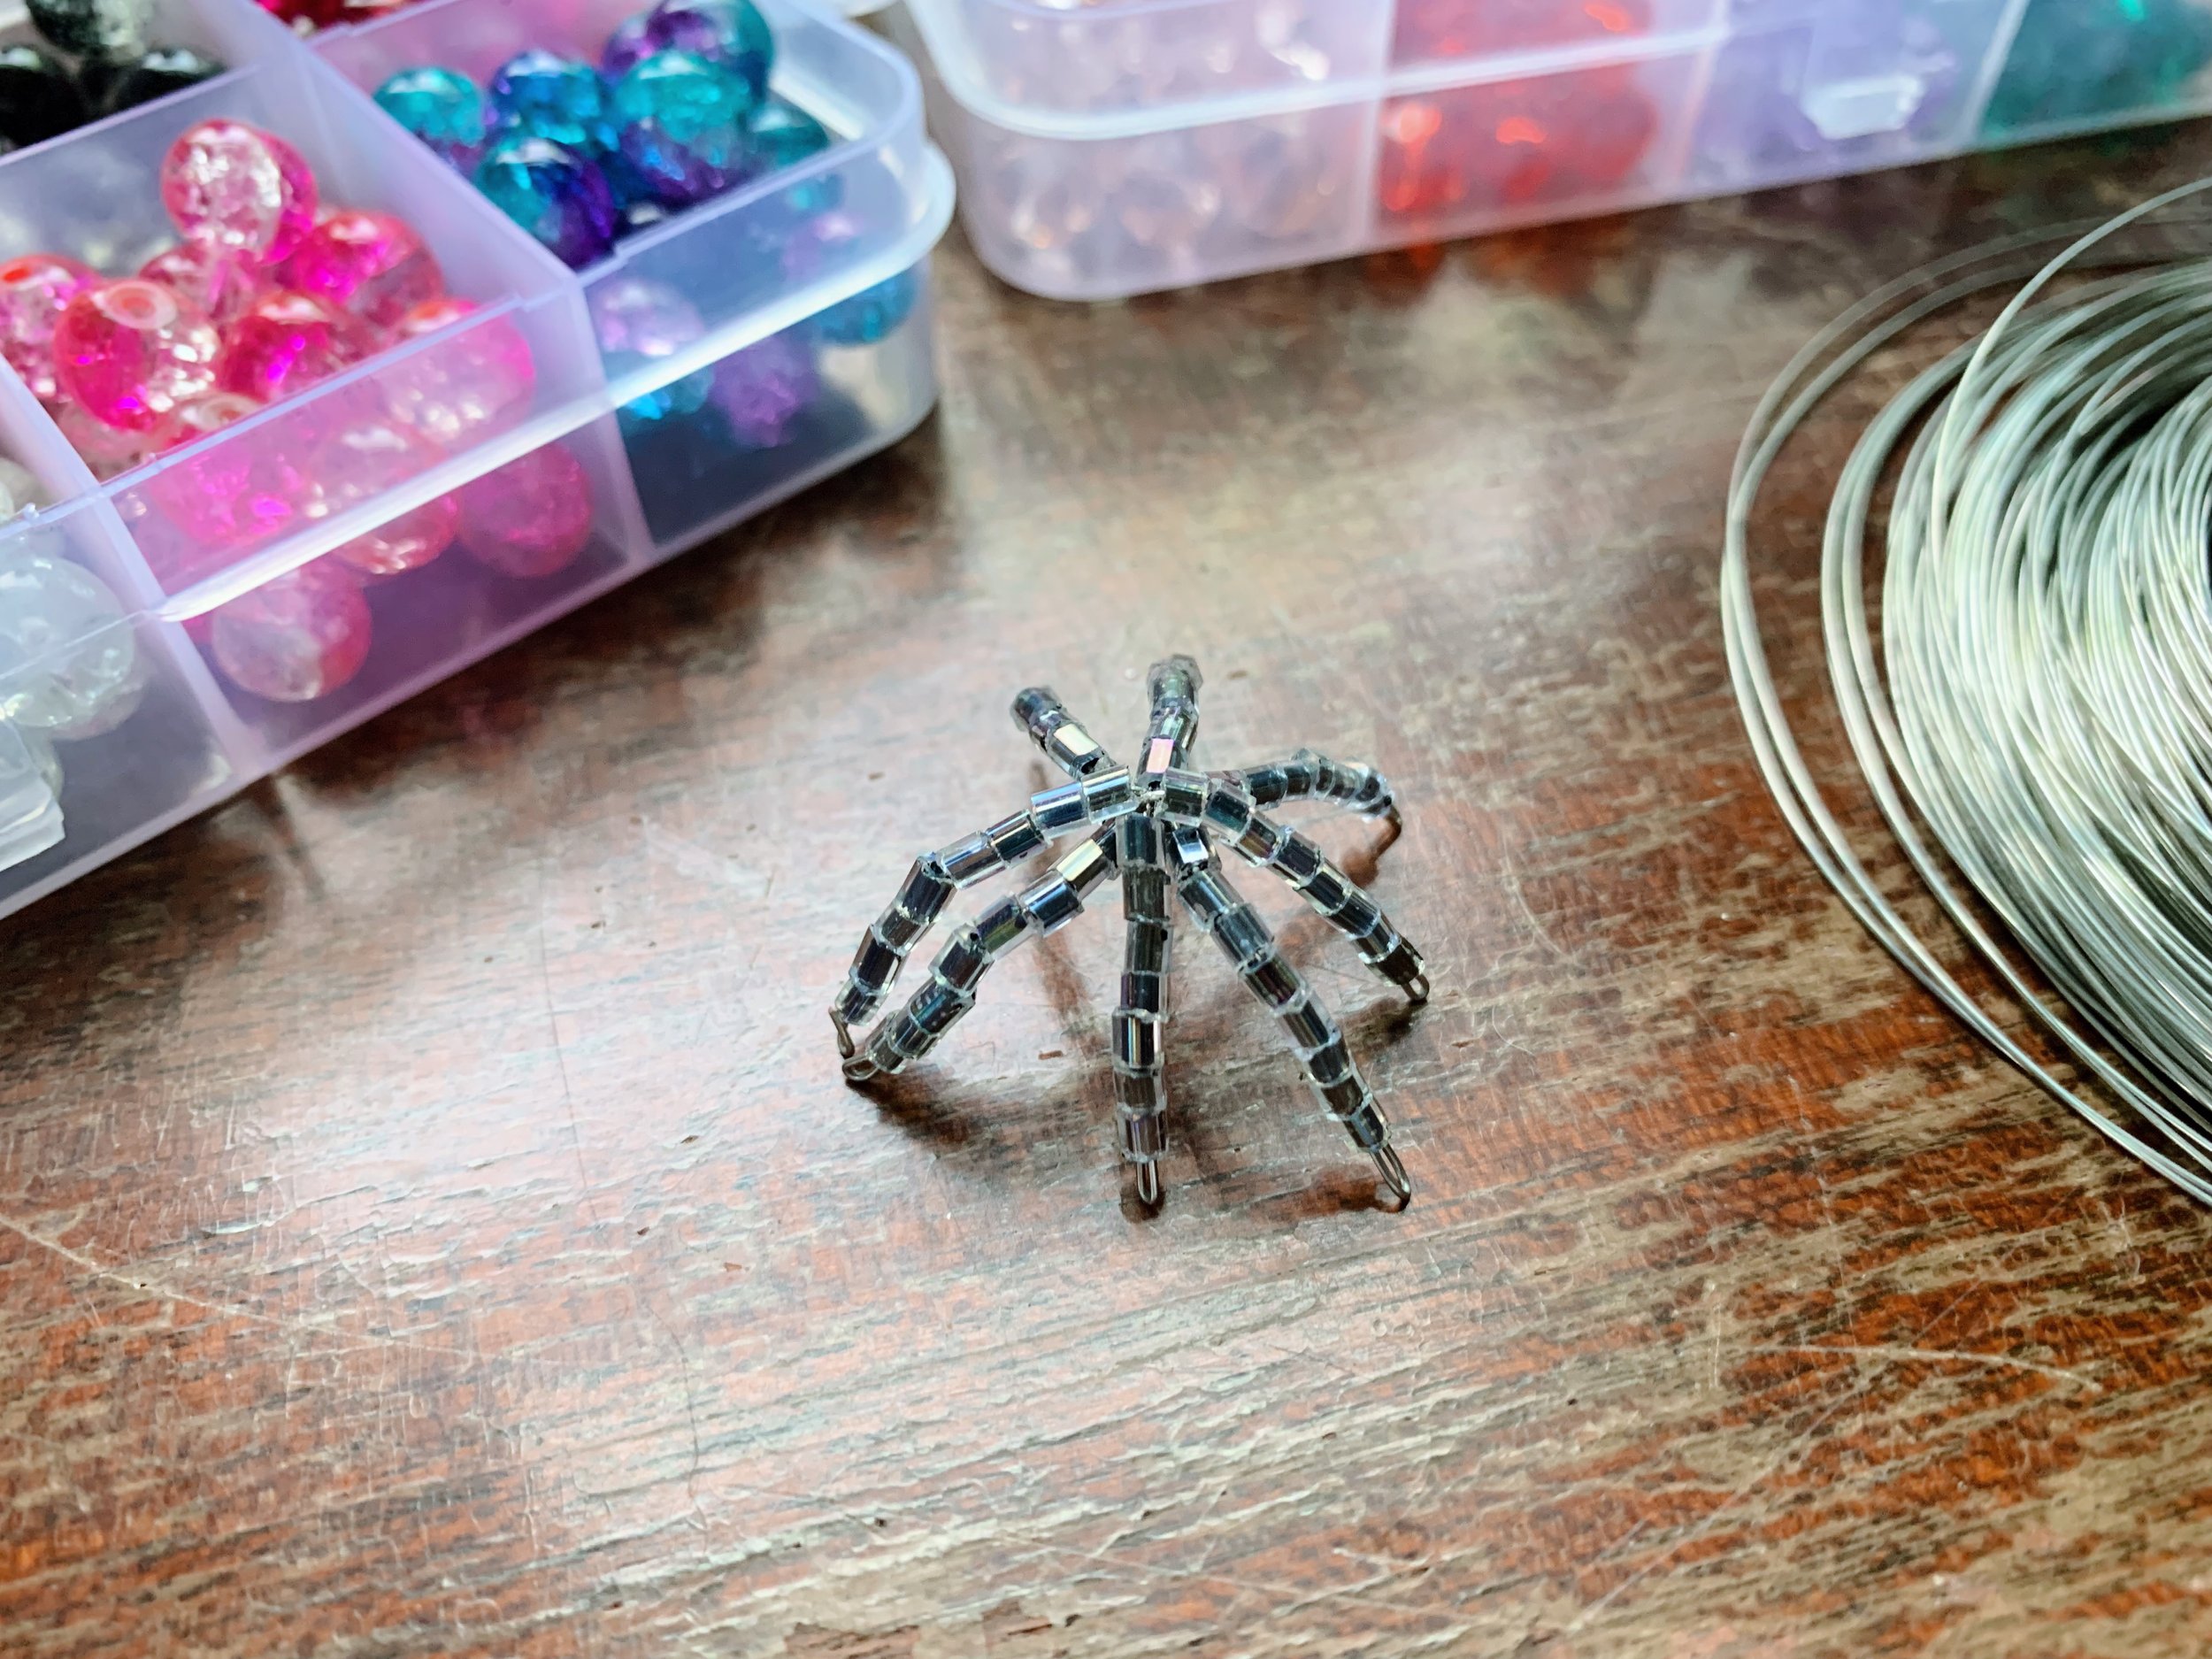
Turn each of the legs under a bit so they’re standing.

Pile on some glue and place your spider’s body on top to adhere.


Cut string to your preferred length (long enough to hang from the tree when you loop it). Wrap the string under the spider body.
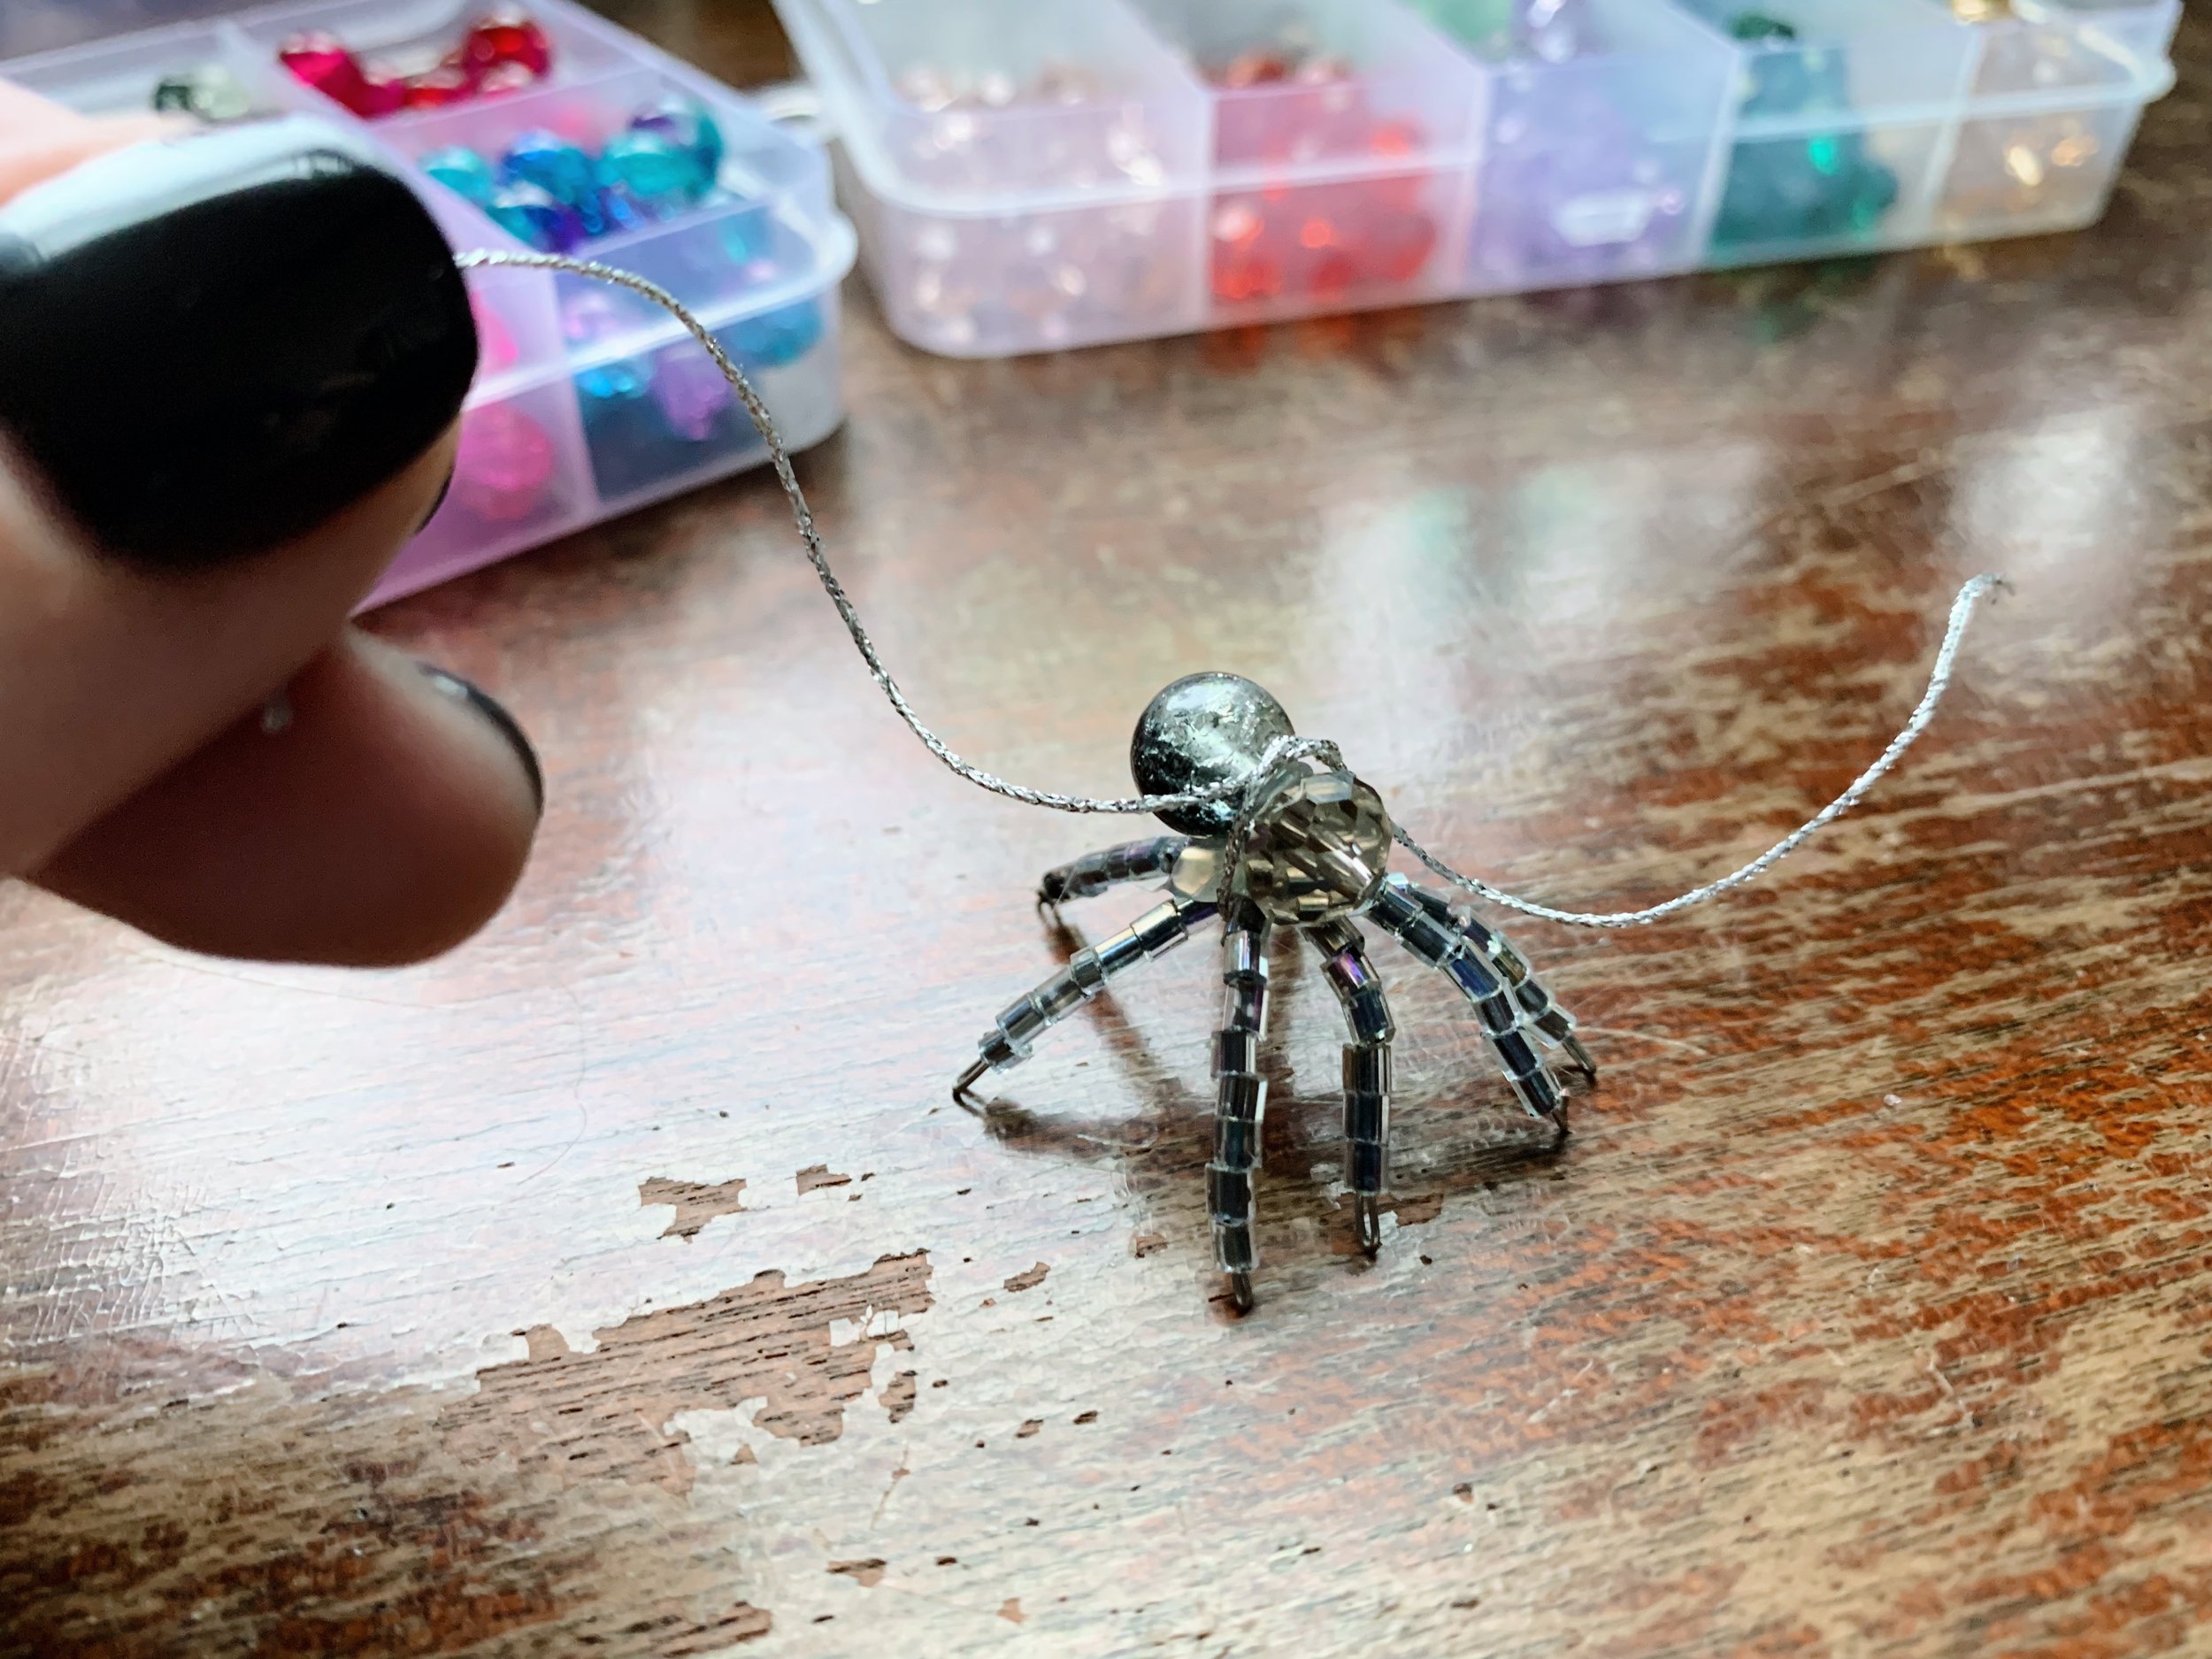
Tie a knot over top of the body (this also further secures the body to the legs).

Tie a second double-knot at the top of the strings to create a loop.

And you have your spider! Again, it’s hard to capture how sparkly they are in the photos—hanging a few in different colors is not only adorable because of the folklore, but adds a lot of bling to your tree (or altar)!